
Please Note – We get commissions for purchases made through links in this post.
Finding the right reverse osmosis (RO) systems can be complex, given the many options and technical specifications available. RO systems are designed to provide pure, safe drinking water by removing contaminants and impurities from tap water. If you constantly get hard water in your home, you will have to buy a water softener to convert hard into potable water. However, to clean impurities, an RO system is a great product. To find one, you can review 5 best reverse osmosis system consumer reports, highlighting their features, benefits, and overall performance. Additionally, we have answered 3 most common questions related to the RO system that you can check out to make an informed decision.
Best Reverse Osmosis System Consumer Ratings & Reports
- 1. APEC Water Systems ROES-50 Reverse Osmosis System
- 2. Express Water RO5DX Reverse Osmosis Filtration
- 3. Waterdrop G3 Reverse Osmosis System
- 4. iSpring RCC7AK Alkaline 6-Stage Reverse Osmosis System
- 5. Frizzlife RO Reverse Osmosis Water Filtration System
How To Clean Reverse Osmosis System?
Sum Up
Reviewing Top 5 Reverse Osmosis Systems
1. APEC Water Systems ROES-50 Reverse Osmosis System
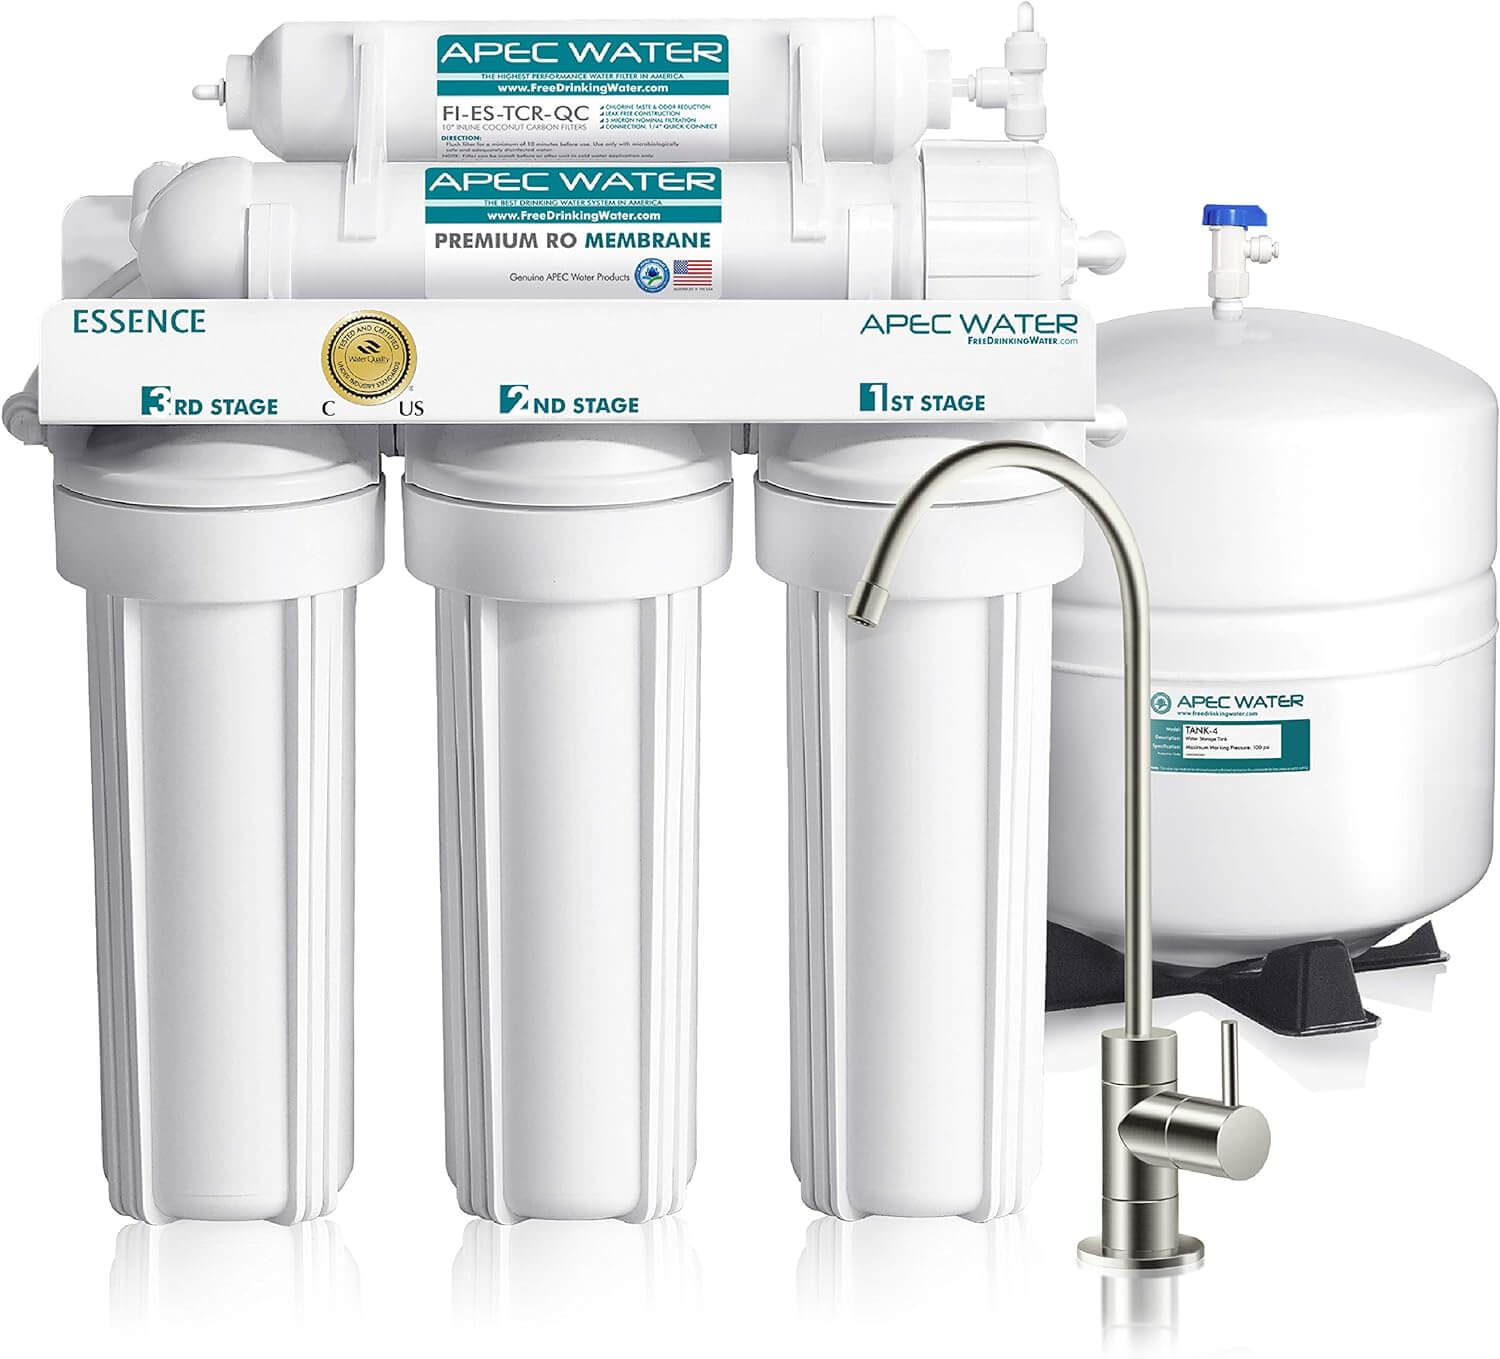
Let’s begin our list of best reverse osmosis system consumer reports with the product from APEC Water Systems. The unit is packed with double carbon blocks that help remove up to 99% of impurities from water including chlorine, lead, arsenic, fluoride, heavy metals, and more.
The water filter system is equipped with WQA Certified System, which makes use of long-lasting filters to treat tap water as well as well water. You can expect it to deliver refreshing and sweet-tasting water for a long time.
The company has also added a 100% lead-free designer faucet with a filter system, premium-grade tubing, and parts to deliver safe and impurity-free water.
All the fittings in this RO system feature stainless steel teeth for a tight grip along with a special O-ring to provide a leak-proof seal. This means you don’t need additional clipping parts and a leak detector.
When it comes to installation, you don’t find any issues, as the company offers step-by-step installation videos along with an instruction manual. You will also get comprehensive support from the company for all the issues befalling the product.
2. Express Water RO5DX Reverse Osmosis Filtration
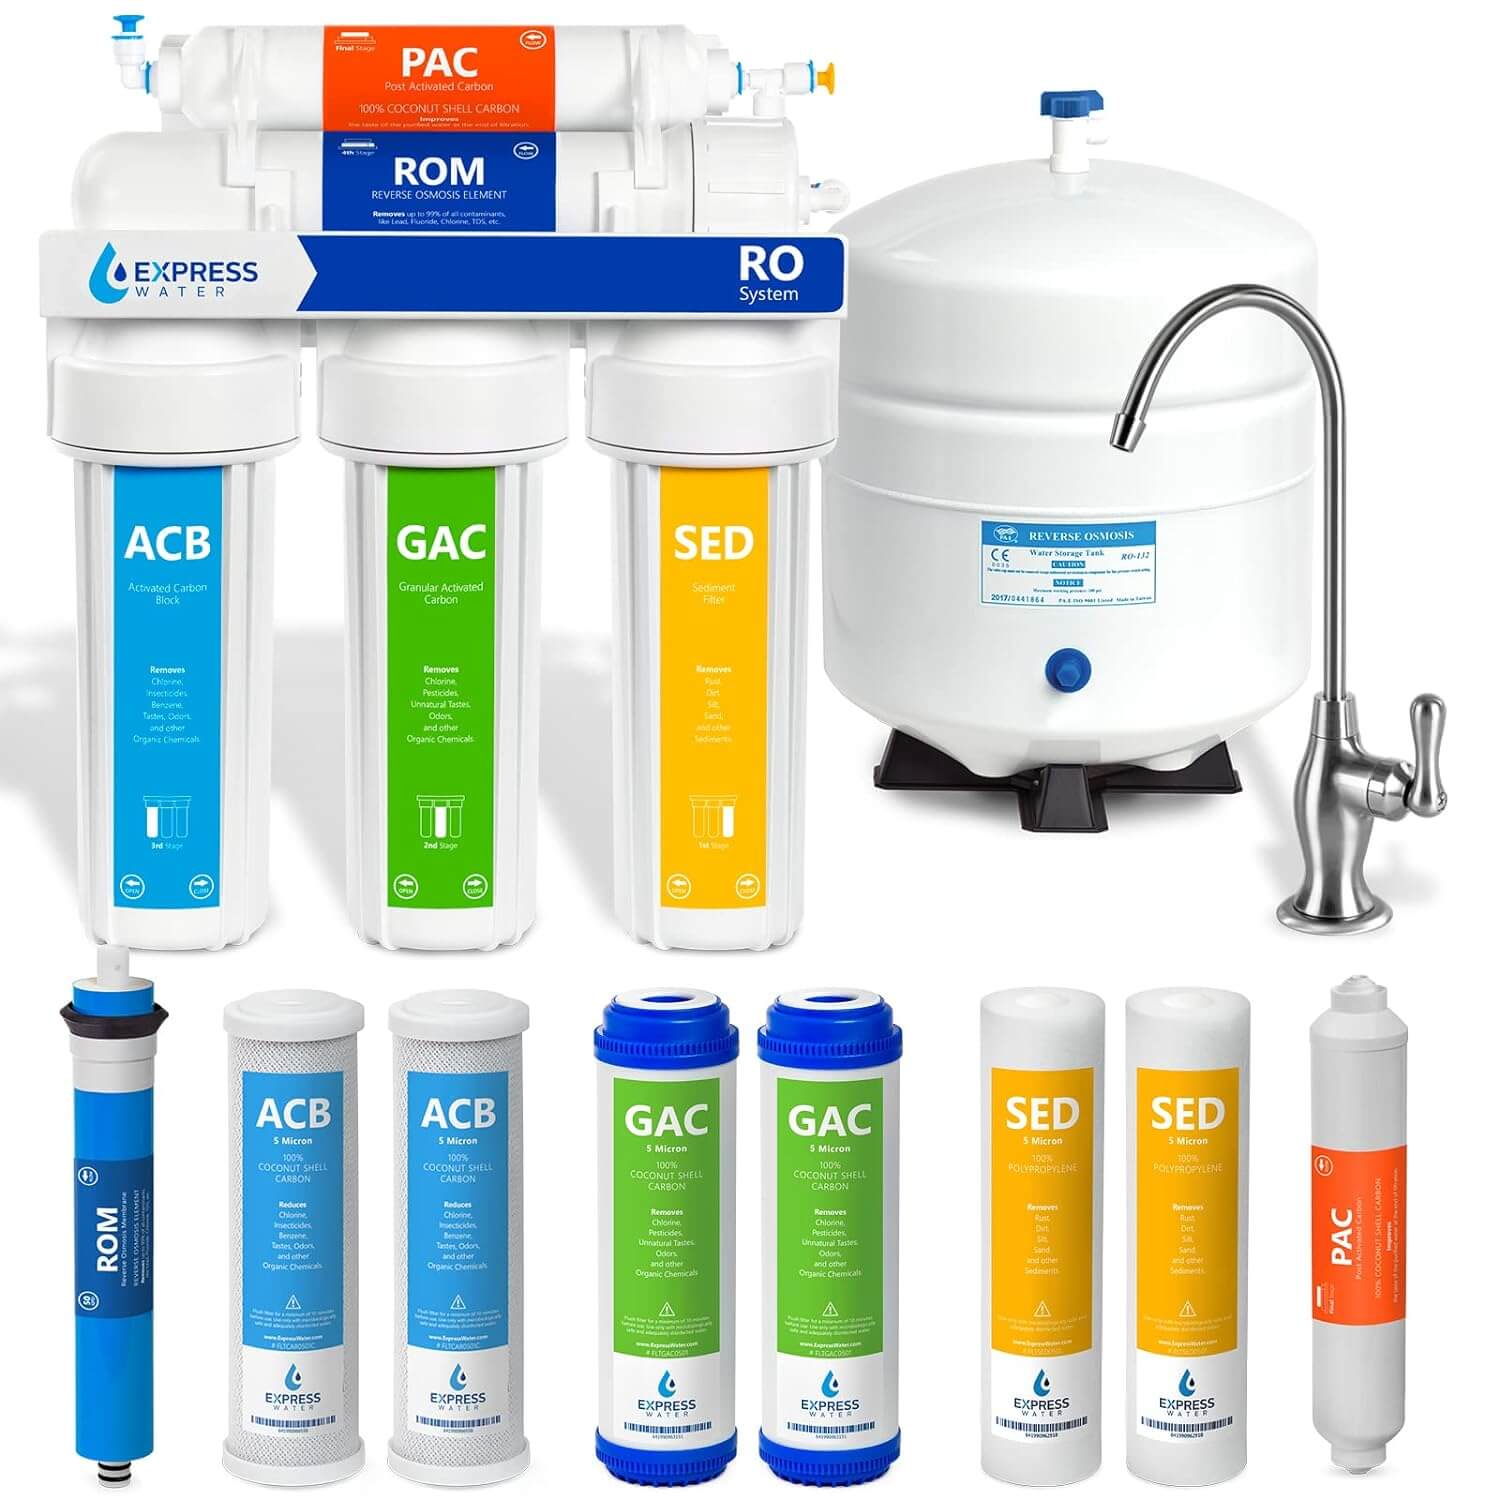
This is another top-quality RO water filter system that claims to reduce up to 99.99% of harmful substances in the water, including Arsenic, Chlorine, Calcium, Fluoride, Nitrates, and more.
Water coming out after the filtration process tastes sweet and totally safe. A key highlight of this product is its installation, which doesn’t require you to call a professional.
You can easily install this under-sink water filtration system by reading the instructions given in the instruction manual. Another good thing about this water filter is automatically filling the water tank with 100% safe water, which means, you don’t have to refill or activate your water filter manually.
The company has added an emergency leak stop detector in the water filter system, which shuts off the water flow upon detecting unwelcomed moisture.
You can easily customize and upgrade this water filter system, courtesy of the quick connecting fittings, which include an Alkaline Water Filter, UV Water Filter, Deionization Water Filter, and more. As far as the support goes, then the company offers comprehensive support for all the issues arising in the product.
3. Waterdrop G3 Reverse Osmosis System
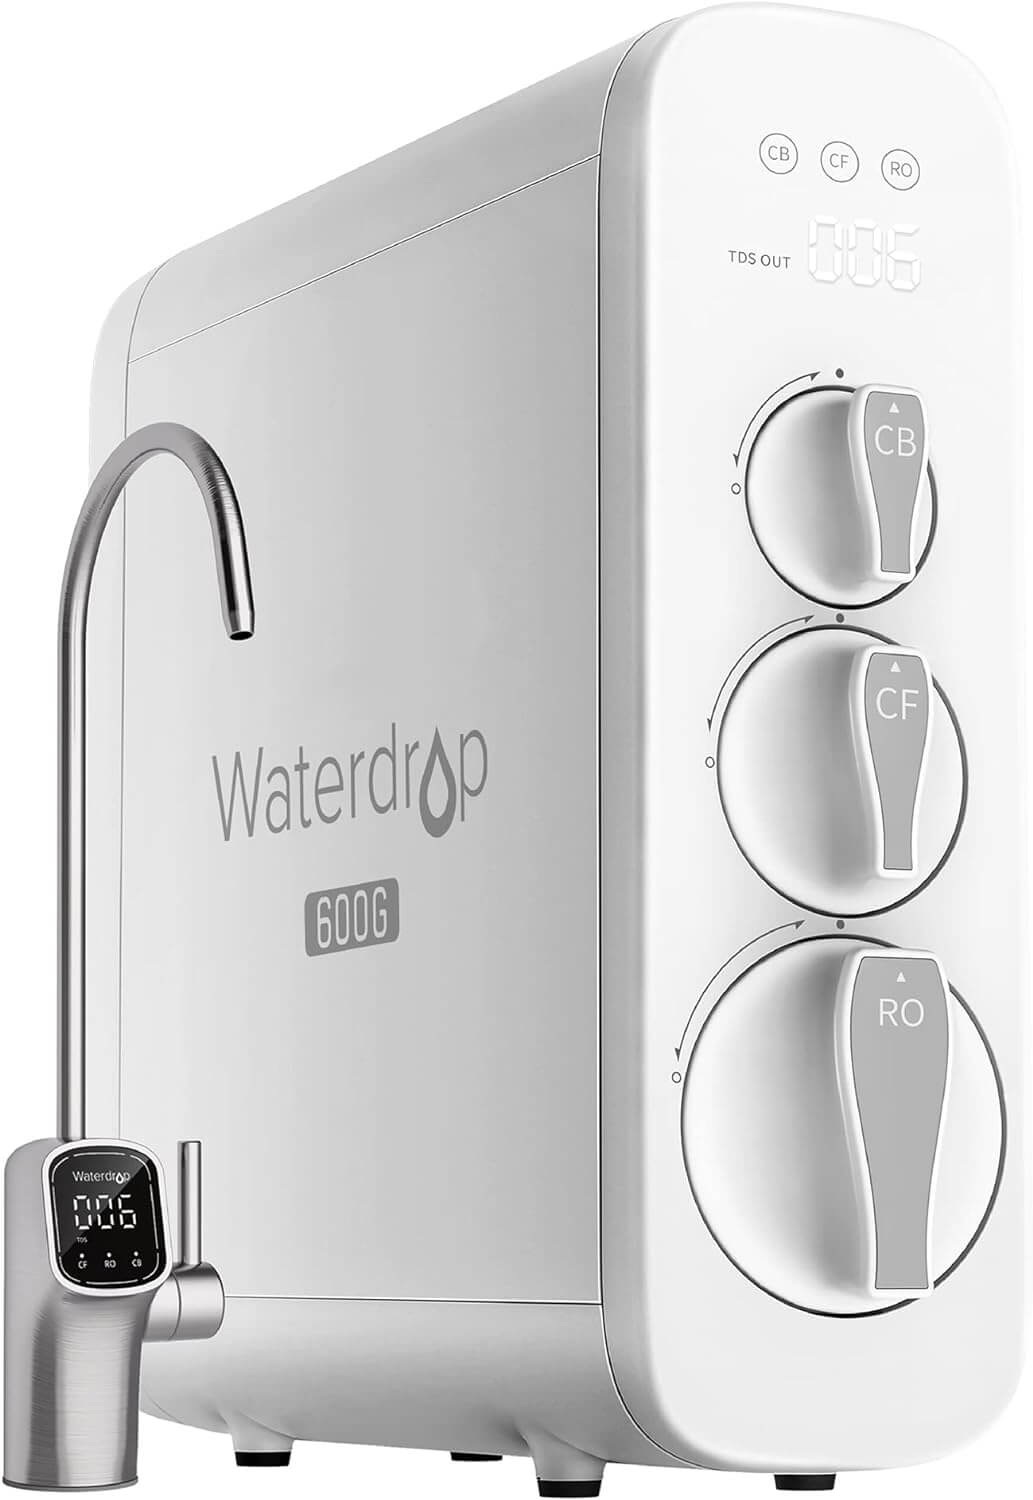
The Waterdrop G3 Reverse Osmosis System is the top choice out there for anyone who wants to ensure they’re getting the absolute best water filtration available. countless trusted certifications including NSF/ANSI 58 for TDS reduction and NSF/ANSI 372 for lead-free material as they ensure high safety & performance requirements.
It’s also certified to remove chlorine, bad taste, and odor, so you can rest assured your water isn’t just safe but it’s nice to drink as well.
The 8-stage filtration reduces multiple contaminants like TDS, chromium, PFAS radium, and fluoride besides arsenic iron, and chlorine as well. All of this thorough filtration is backed up with third-party laboratory testing so you know that all the bad stuff in your tap water is being filtered out.
The smart display faucet is one of the standout features of this RO water system, giving real-time data on water quality and filter life. This intelligent technology guarantees the utmost convenience of use and allows you to never forget when it is time to replace the filter.
Efficiency-wise, the G3 system also has super high capacity supporting up to 600 gallons of filtered water a day. Low drain ratio 2:1 which ensures less water wastage as compared to a conventional system.
The tankless design not only saves a lot of under-sink space but also makes the filter changes incredibly easy. All is required to change the filter paper then it takes seconds!
So, if you are serious about water quality and safe drinking water, then you should get this RO water filter system.
4. iSpring RCC7AK Alkaline 6-Stage Reverse Osmosis System
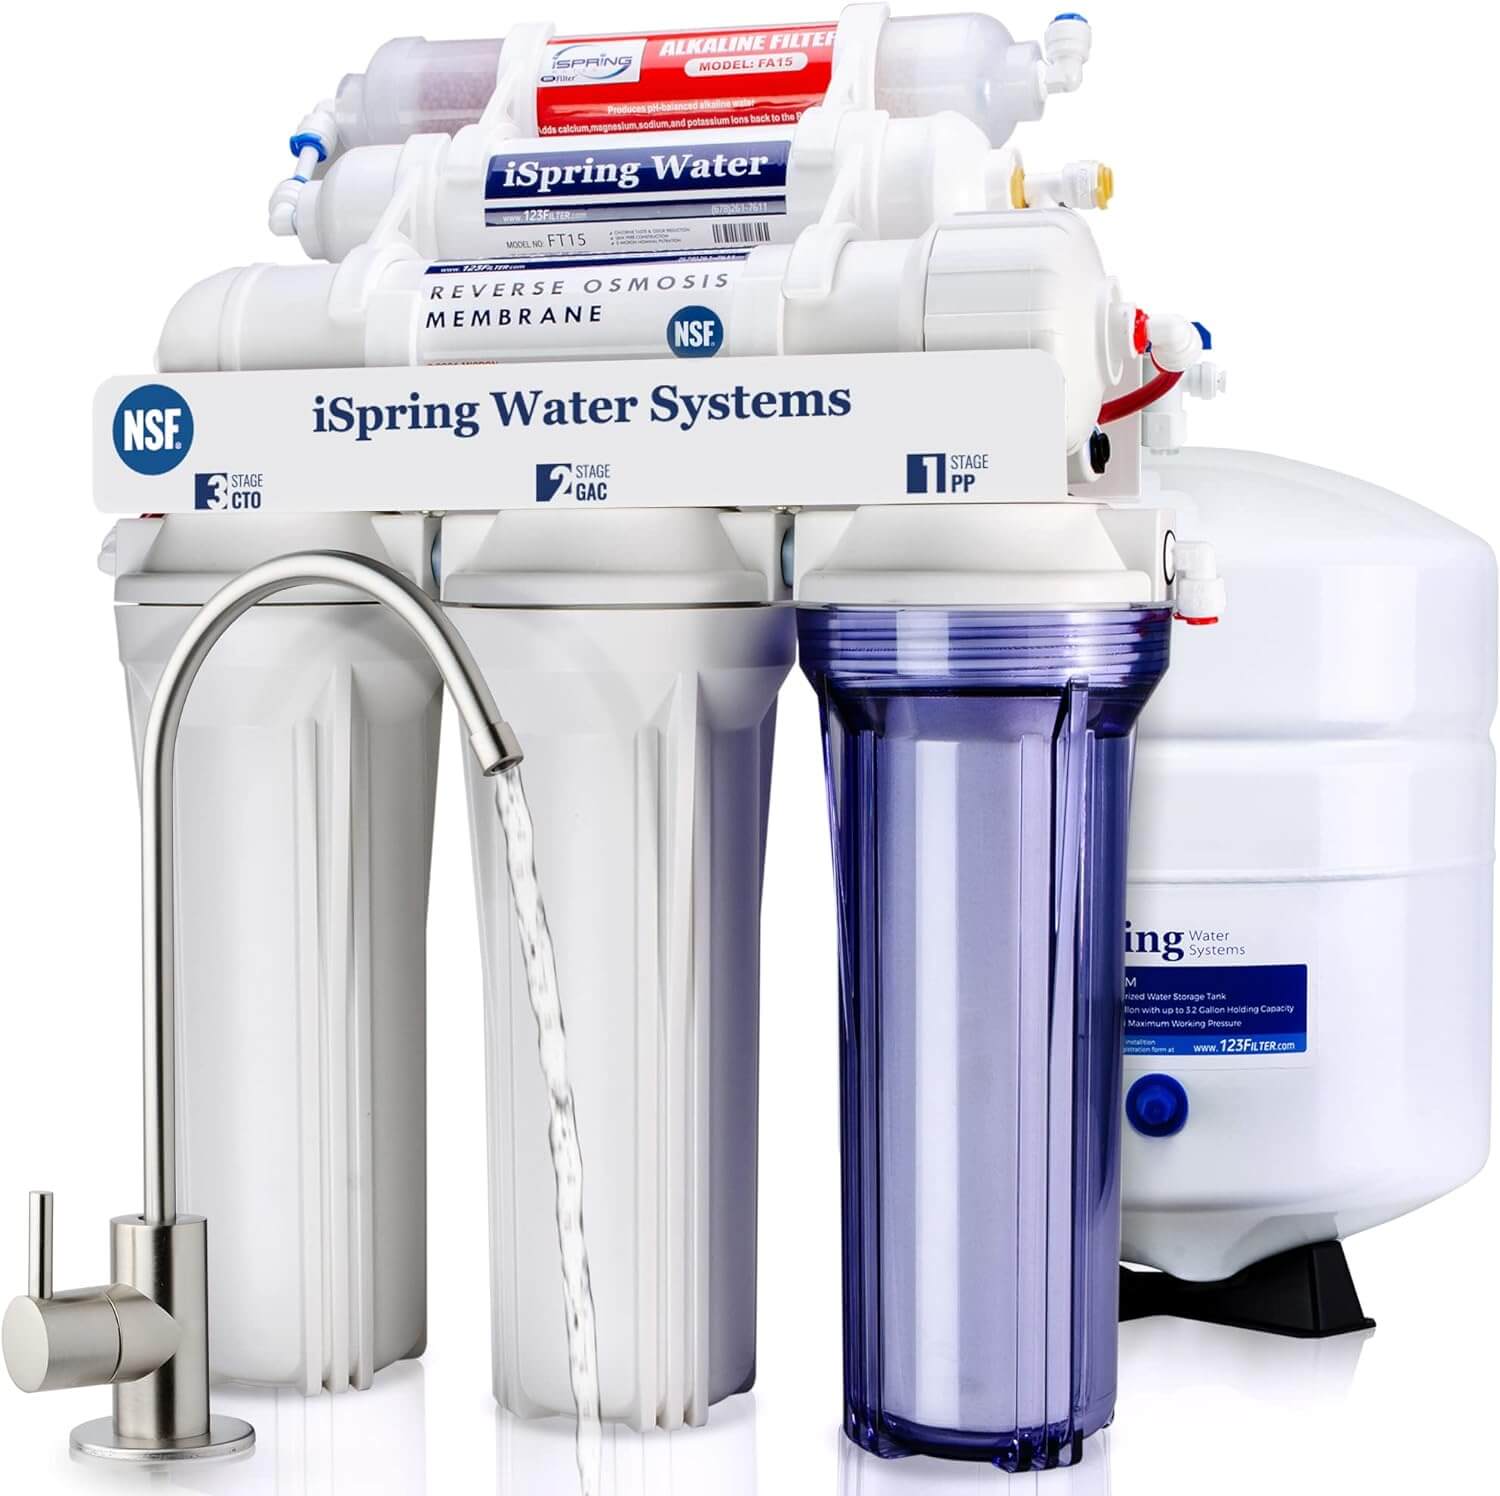
Have a look at this 6-stage RO System from iSpring, which can remove up to 99% of more than 1,000 contaminants from water, including asbestos, arsenic, chlorine, fluoride, lead, and PFAS to ensure that the water for consumption is clean and safe.
What makes this RO filter system different from others is that it features an additional Alkaline Remineralization filter. It has 5 stages of water filtration process with an extra 6th stage, which restores healthy minerals and balances alkalinity, resulting in natural tasting water.
Maintaining this RO system is a breeze, thanks to the transparent 1st stage housing for effortless inspection and long-lasting pre-filters, which remove large contaminants and protect the RO membrane.
The company has also included an ultra-fine RO filter along with a fine GAC filter to deliver comprehensive purification. Then, there is the final AK filter that instills healthy minerals into the water. Installing this water filter is anything but difficult.
You will get all the necessary parts for DIY installation under the kitchen sink. It comes with quick-fitting connectors for a leak-free setup. The company offers lifetime technical support, which is quite reassuring for the customers.
5. Frizzlife RO Reverse Osmosis Water Filtration System
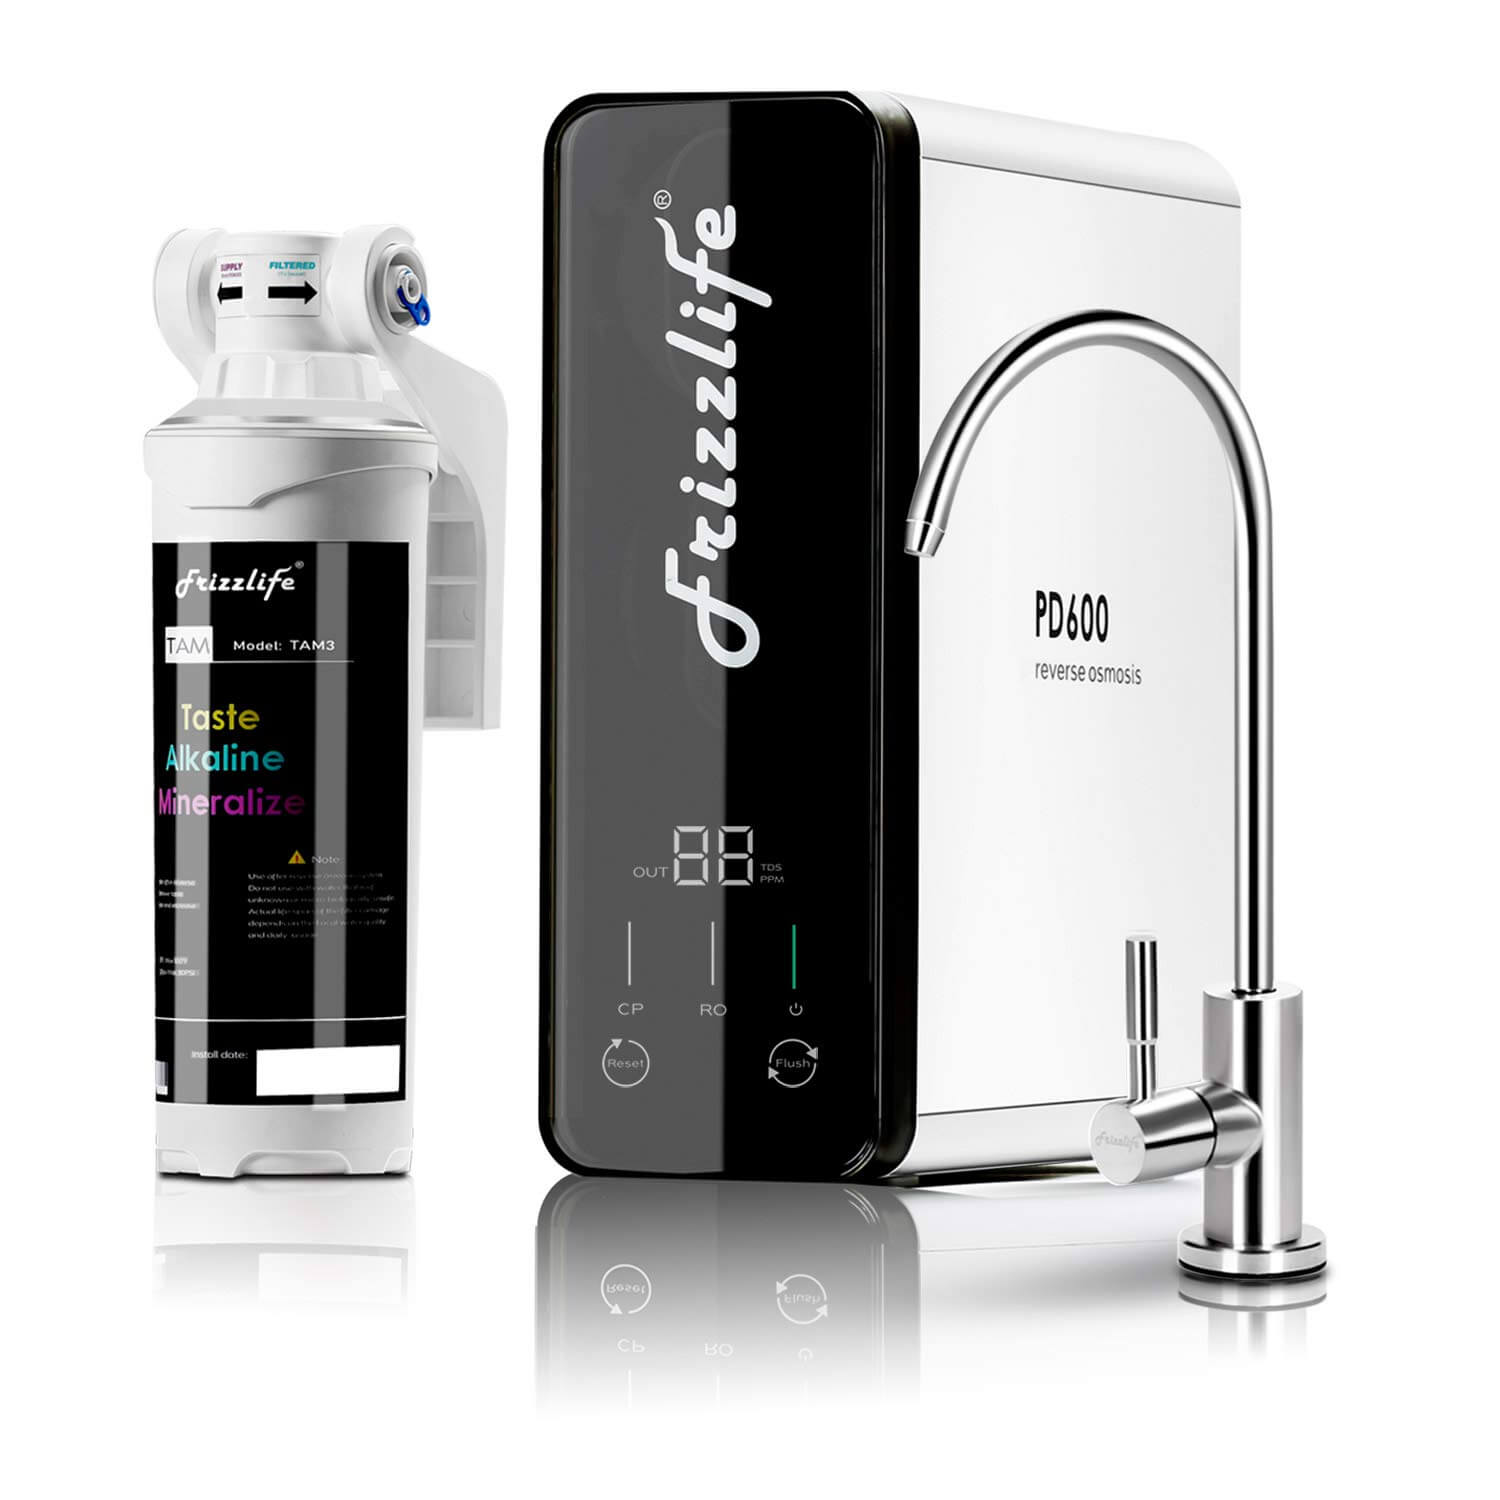
The Frizzlife PD600 Reverse Osmosis Water Filtration System offers a comprehensive solution for those seeking high-quality drinking water with added health benefits.
One of its standout features is the 3rd stage filter, which addresses the common issues of conventional RO systems by balancing the water’s alkalinity and adjusting the pH to over 7.5.
This process not only makes the water slightly alkaline but also reintroduces essential minerals, resulting in healthier and better-tasting water.
The tankless design of the RO system makes it very convenient for people who don’t want to sacrifice under-sink space to keep a water filter system.
You can filter up to 600 gallons of water every day, making it ideal for large families. The water filter fills a 330 ml cup in 10 seconds, which is quite an impressive feature.
The water filter system has a drain ratio of 1.5:1, which reduces water waste significantly. You will not find a better RO system that helps you save on high water bills as well as contribute to the environment.
The company has installed a smart LED display panel on the water filter system, which provides real-time TDS levels and lifespan of all the filters installed.
The presence of color-coded indicators gives timely reminders for filter changes so that the performance of the RO system remains the same. Installing the system is a breeze, as you will get all the parts needed for installation along with an instructional manual and videos.
How to Install A Reverse Osmosis System?
Installing a reverse osmosis (RO) system can seem overwhelming, but with the right approach, it can be a manageable and rewarding task. I remember feeling a mix of excitement and apprehension when I first decided to install my own RO system. Here, I’ll guide you through the process of installing an RO system, sharing my personal insights and practical tips to make the task easier.
Preparing for Installation
- Gather Your Tools: Before starting, gather all the necessary tools and materials. You will need a drill, adjustable wrench, screwdriver, and plumber’s tape. Having these tools ready can save time and make the installation smoother.
- Read the Instructions: Each RO system comes with specific instructions. I have been finding it crucial to read through these carefully. The manual will provide details about the components and any unique installation steps specific to your system.
- Check Your Space: Make sure you have enough space under your sink for the system, including the storage tank and filters. I think measuring the area beforehand can help you avoid any surprises and ensure a proper fit.
Step-by-Step Installation
- Install the Faucet: Most RO systems come with their own dedicated faucet. Start by drilling a hole in your sink or countertop if one is not already available. I have been using a variable speed drill for better control. Attach the faucet following the manufacturer’s instructions, ensuring it is securely mounted and leak-free.
- Mount the RO Unit: Next, mount the RO unit on the side wall under your sink. For that, you can use a mounting bracket and screws that come in the package to secure it in place. Make sure it’s easily accessible for filter changes and maintenance.
- Connect the Water Supply: Turn off the cold water supply and attach the feed water adapter to the cold water line. This adapter will connect to the RO system’s feed line. You can use a plumber’s tape on the threads to get a tight seal and prevent leaks.
- Install the Drain Line: The drain line is where the RO system will discharge wastewater. Drill a hole in your sink drain pipe and attach the drain saddle clamp. I have been positioning it above the P-trap to ensure proper drainage. Secure the drain line tubing to the clamp tightly.
- Connect the Storage Tank: Place the storage tank under the sink and attach the tank valve to the top of the tank. Then, connect the tubing from the RO unit to the tank valve. I have been finding that ensuring all connections are tight can prevent any leaks or issues later on.
- Connect the Faucet Line: Finally, connect the tubing from the RO unit to the faucet. I have been making sure all connections are secure and leak-free. This step ensures that the purified water flows correctly from the RO unit to the faucet.
- Flush the System: Before using the RO system, it’s important to flush it. Open the faucet and let the system run for a few hours to flush out any contaminants and ensure the filters are properly saturated. I have been noticing that this step is crucial for optimal performance and water quality.
Testing and Final Checks
- Check for Leaks: After installation, check all connections for leaks. I recommend keeping an eye on it for the first 24 hours. Tighten any fittings if necessary to prevent water damage or inefficiency.
- Test the Water: Once the system has been flushed, test the water quality. I think using a TDS (Total Dissolved Solids) meter can help you ensure the system is working correctly. The TDS levels should be significantly lower than your tap water, indicating effective filtration.
- Routine Maintenance: Regular maintenance is key to keeping your RO system running efficiently. I have been changing the pre-filters every 6-12 months and the RO membrane every 2-3 years, depending on usage and water quality. Keeping a maintenance schedule can extend the life of your system and maintain water quality.
How To Clean Reverse Osmosis System?
Cleaning your reverse osmosis (RO) system is essential for maintaining water quality and system efficiency. Here’s a step-by-step guide on how to clean your RO system, based on my own experience and tips I’ve found useful:
- Gather Necessary Materials: You’ll need the following items:
- Food-grade sanitizer or hydrogen peroxide
- Clean cloths or paper towels
- A bucket
- A soft brush
- Replacement filters (if needed)
- Turn Off the System: Start by shutting off the main water supply to the RO system and the tank valve. This prevents any water flow during the cleaning process.
- Drain the System: Open the RO faucet to drain any remaining water in the system. Allow the tank to empty completely.
- Remove and Replace Filters: Carefully remove the pre-filters, post-filters, and RO membrane. I’ve been finding it helpful to take note of the order and orientation of the filters for easy reassembly. Inspect the filters and replace any that are due for replacement according to the manufacturer’s guidelines.
- Clean the Filter Housings: Rinse the filter housings with warm water and a few drops of mild dish soap. Use a soft brush to scrub the insides gently. Rinse thoroughly to remove all soap residue.
- Sanitize the System: Fill the first filter housing with a food-grade sanitizer or hydrogen peroxide solution. Reattach the housing without the filter and turn on the water supply. Let the system fill until water begins to flow from the RO faucet, then shut off the faucet and let the system sit for about 30 minutes to sanitize.
- Flush the System: After sanitizing, open the RO faucet and let the water run to flush out the sanitizer. This can take a few hours, depending on your system. Ensure all sanitizer is flushed out before proceeding.
- Reassemble the System: Once the system is flushed, reinstall the clean or new filters and the RO membrane. Make sure all connections are tight and secure to prevent leaks.
- Turn On the System: Open the main water supply and the tank valve. Allow the tank to fill completely, which might take a few hours. Check for any leaks and ensure the system is functioning correctly.
- Test the Water: After the system has refilled, test the water quality using a TDS meter to ensure the system is properly filtering the water. The TDS levels should be significantly lower than your tap water.
Regular Maintenance Tips:
- Clean your RO system every 6-12 months, or as recommended by the manufacturer.
- Keep a maintenance schedule to track filter replacements and cleanings.
- Regular cleaning and maintenance can extend the life of your RO system and ensure consistent water quality.
By following these steps, you can keep your reverse osmosis system running efficiently and enjoy the benefits of clean, purified water.
How To Sanitize A Reverse Osmosis System?
Sanitizing your reverse osmosis (RO) system is crucial for maintaining water purity and system performance. Here’s a step-by-step guide on how to sanitize your RO system:
- Gather Necessary Materials:
- Food-grade sanitizer or unscented household bleach
- Clean cloths or paper towels
- A bucket
- Replacement filters (if needed)
- Turn Off the System: Shut off the main water supply to the RO system and close the tank valve to prevent water flow during the sanitizing process.
- Drain the System: Open the RO faucet to drain any remaining water in the system. Allow the storage tank to empty completely.
- Remove Filters and Membrane: Carefully remove the pre-filters, post-filters, and RO membrane. Note their order and orientation for easy reassembly. Set the filters and membrane aside; you’ll sanitize the housings without them.
- Prepare the Sanitizing Solution: Mix a sanitizing solution using food-grade sanitizer or unscented household bleach. Follow the manufacturer’s instructions for the correct ratio. Typically, a few tablespoons of bleach per gallon of water are sufficient.
- Add Sanitizer to Filter Housings: Pour the sanitizing solution into the first filter housing. Reattach the housing without the filter. Repeat this for all filter housings.
- Reassemble the System: Reconnect the filter housings to the RO system. Do not reinstall the filters or membrane at this point.
- Fill and Sanitize: Turn on the main water supply and allow the RO water filter system to fill until you see the water flowing from the system faucet. Shut off the faucet and let the system sit for 30 minutes to allow the sanitizer to disinfect the entire system.
- Flush the System: After 30 minutes, open the RO faucet and let the water run to flush out the sanitizing solution. This may take several hours. Ensure all sanitizer is thoroughly flushed from the system.
- Reinstall Filters and Membrane: Once the system is flushed, reinstall the cleaned or new pre-filters, post-filters, and RO membrane. Make sure all connections are tight and secure to prevent leaks.
- Turn On the System: Open the tank valve and allow the storage tank to fill completely. Check for any leaks and ensure the system is functioning correctly.
- Test the Water: After the tank is filled, test the water quality using a TDS meter to ensure the system is properly filtering the water. The TDS levels should be significantly lower than your tap water.
Regular Maintenance Tips:
- Sanitize your RO system every 6-12 months, or as recommended by the manufacturer.
- Keep a maintenance schedule to track sanitizations and filter replacements.
- Regular sanitization can prevent bacterial growth and ensure consistent water quality.
By following these steps, you can effectively sanitize your reverse osmosis system and enjoy clean, safe drinking water.
Sum Up
After spending time with these reverse osmosis systems, it becomes clear how crucial it is to have access to pure, great-tasting water. Each system has its own strengths and features, ensuring there is a perfect fit for every household. So, you can choose the best reverse osmosis system consumer reports from the reviews above to enjoy safe and fresh water every time. Clean water is not just a luxury; it is a necessity, so making sure to invest in a quality RO system is a step toward better health and well-being.